
Home Office Floor 2.0 Evaluation
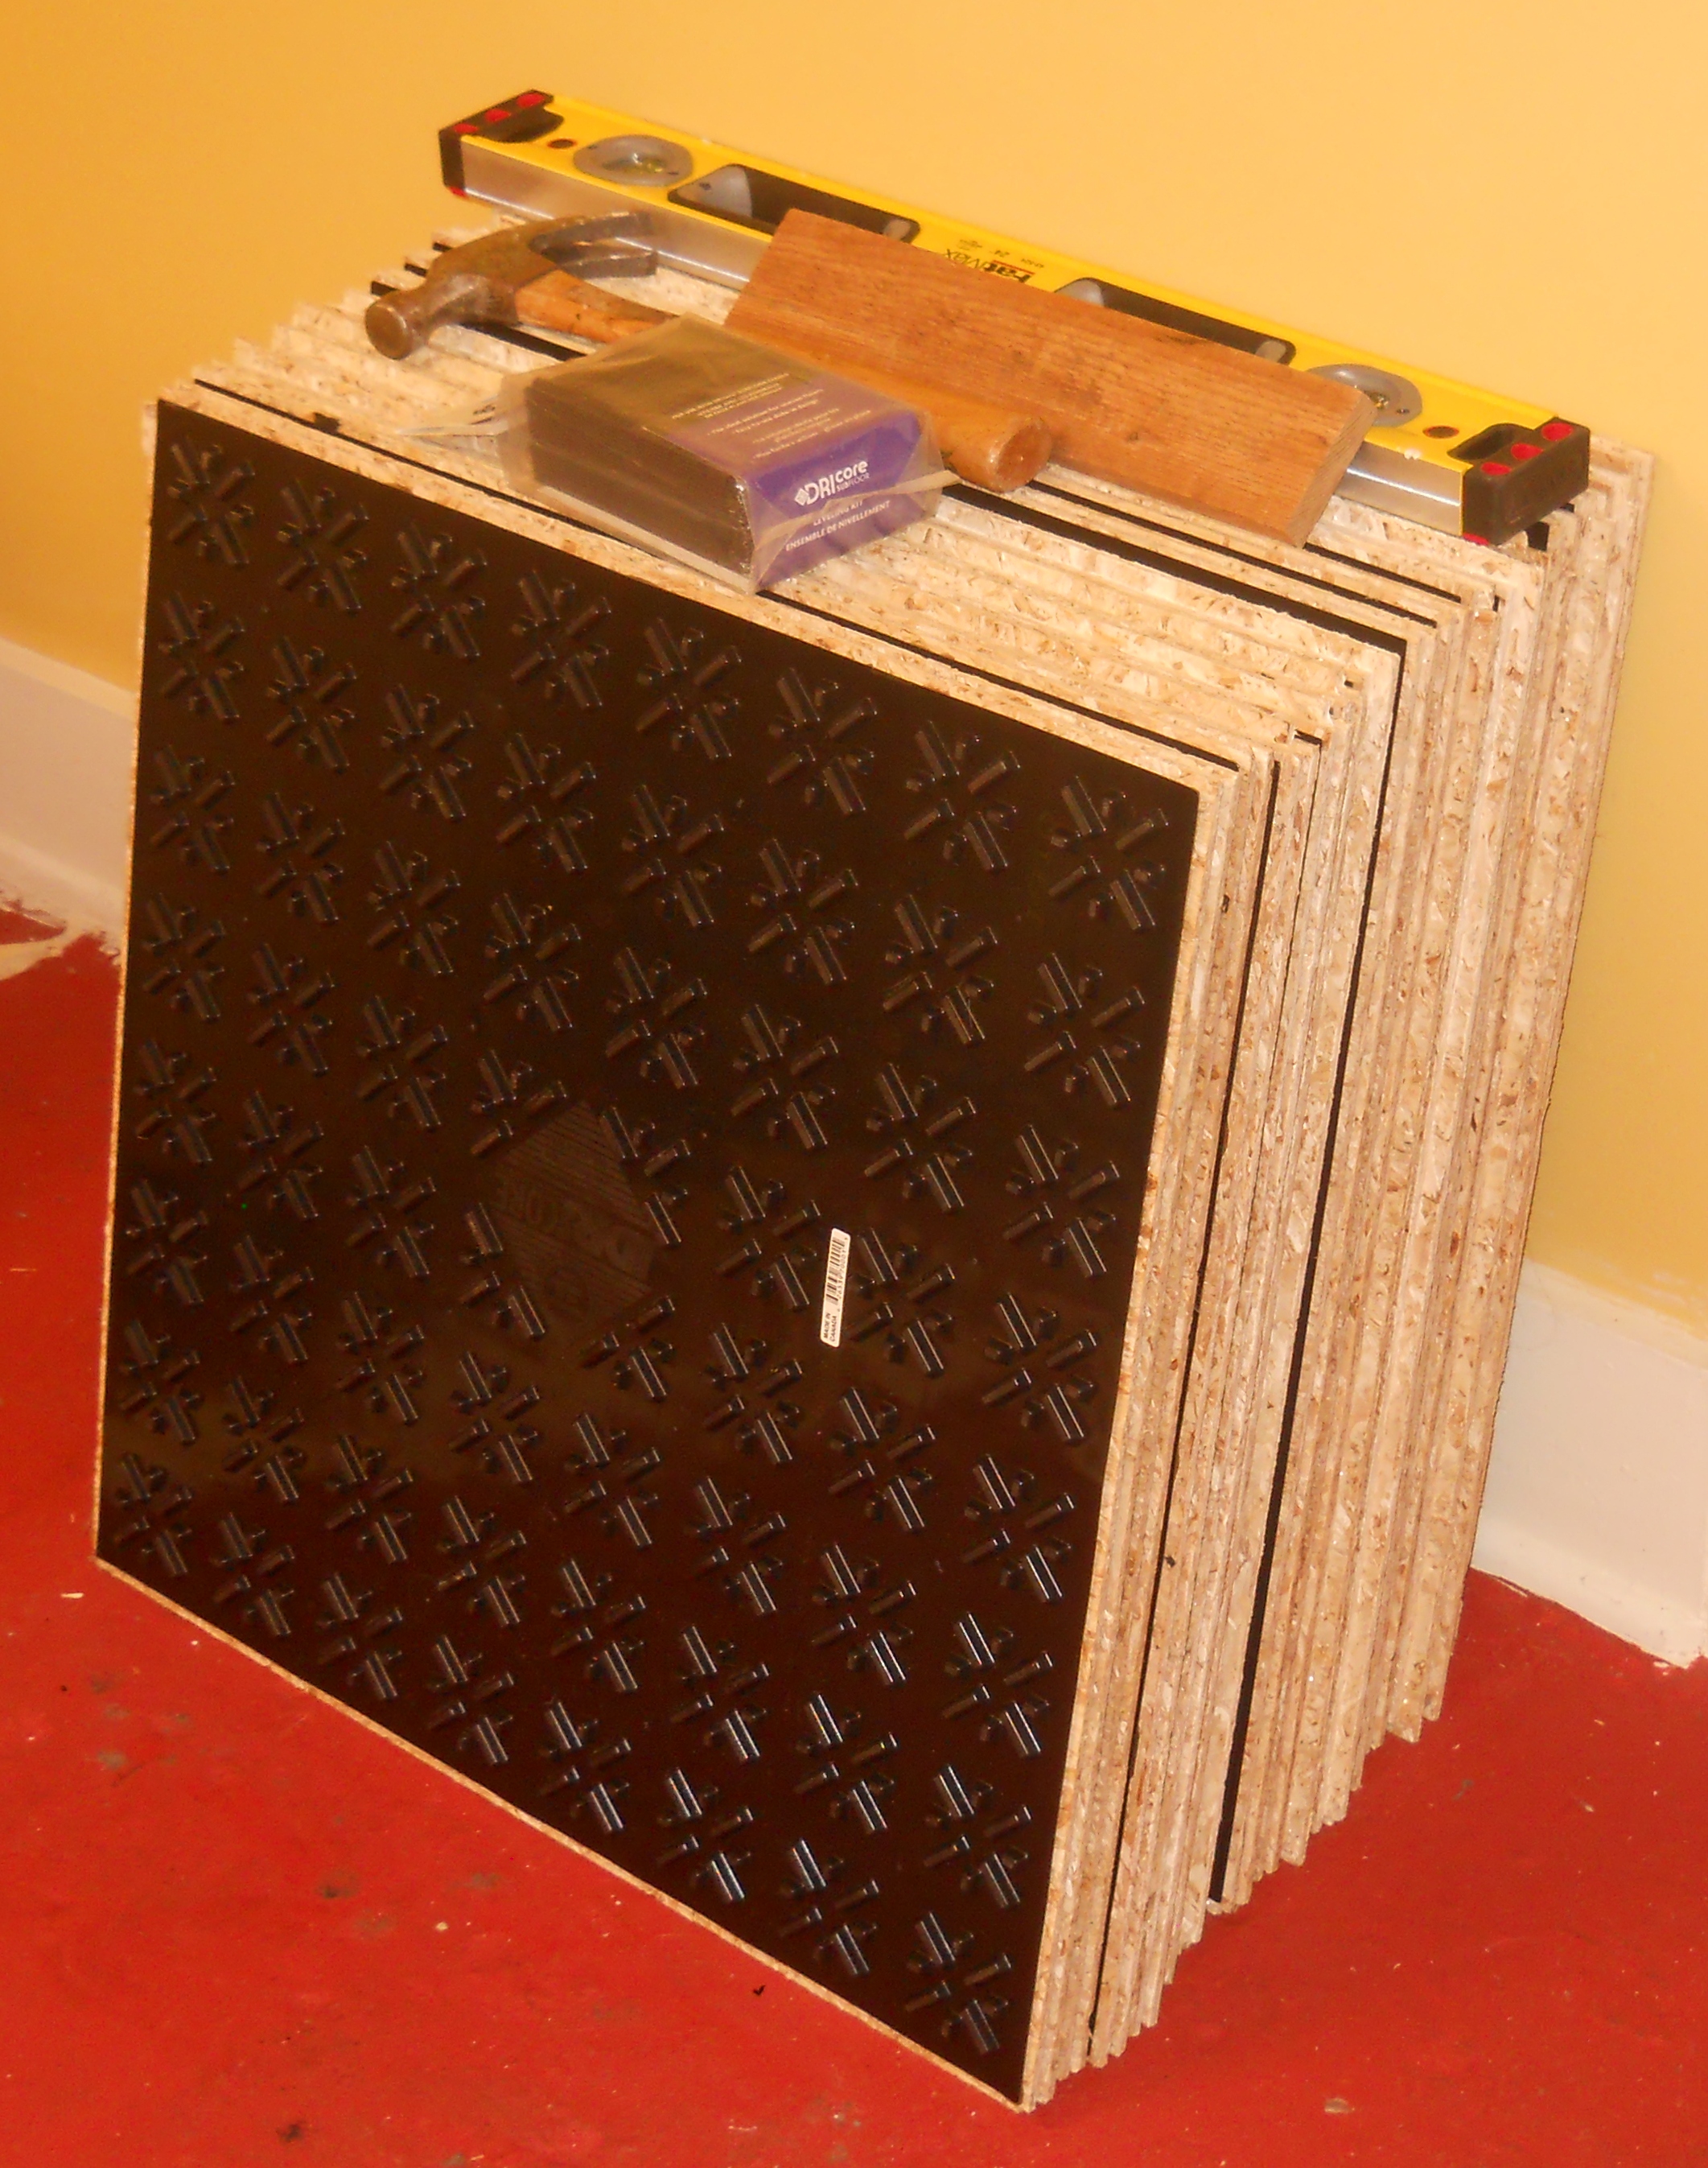
Some DRIcore tiles with tools we needed for the job
Exactly a week ago, my father-in-law and I tackled a two-day project to cover the old basement floor of my home office with a product called DRIcore subfloor. Last Friday, I blogged about the history of the home office and detailed the ongoing struggle to keep the floor painted and dry. I finally concluded that based on counsel from others, DRIcore appeared to be the best product for me.

DRIcore tile
The fact of life is that for many older basements (our basement floor was poured in 1926) there simply is no easy way to eliminate all moisture. As the DRIcore website says, “98 % of basements will have a moisture problem.” Lifting my house and pouring a new basement
floor simply isn’t an option for me, and running a dehumidifier around the clock is costly as well. The benefit of DRIcore is that it actually raises the floor by about three-quarters of an inch, leaving the moisture below and keeping the finished floor high and dry.
My father-in-law, Dick Melzer, and I spent about nine hours total on the project. (You’ll see Dick more in the photos because I was the one taking the photos.) Not only did we install DRIcore (two-by-two) tiles but we also  put down brown (eighteen inches by eighteen inches) carpet squares from HomeDepot. All told, the project cost about $500.
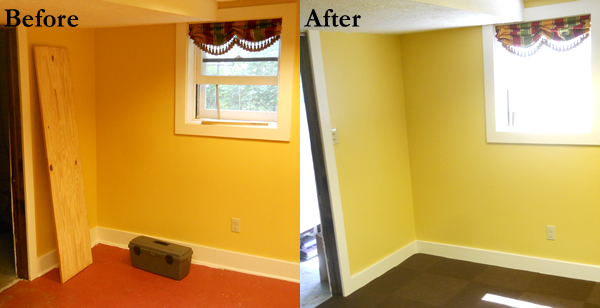
So how did the project go? It went great! Much better than expected. And it took much less time too.
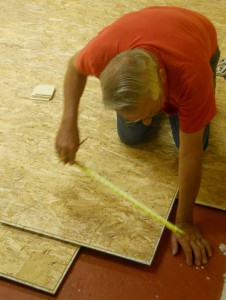
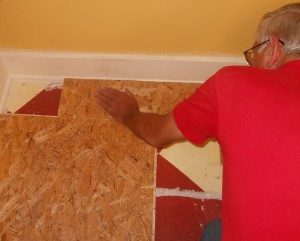
The tiles easily fit together using tongue and groove. You simply knock them together using a hammer and a piece of wood for tapping. The strategy is to lay a brick pattern and make the seams as tight as possible. (The bottoms are made of tough rubber with cleats that raise the floor.) When we met the opposite wall, we naturally had to trim some pieces using a jigsaw.
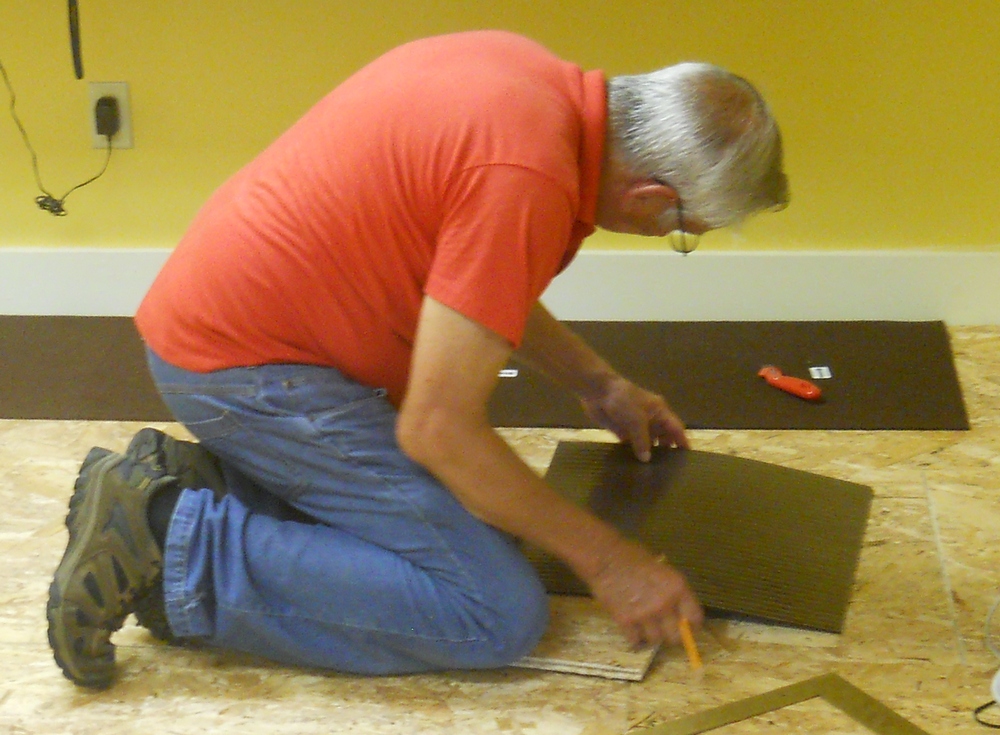 Then we laid the carpet squares. I chose very thin, industrial-style squares that look nice and will do the job. I pulled the plastic sheets off the sticky backs, and Dad put down the tile. He used a carpet trimmer when necessary. If you want a checkerboard pattern, you need to follow the provided arrows and make sure they alternate.
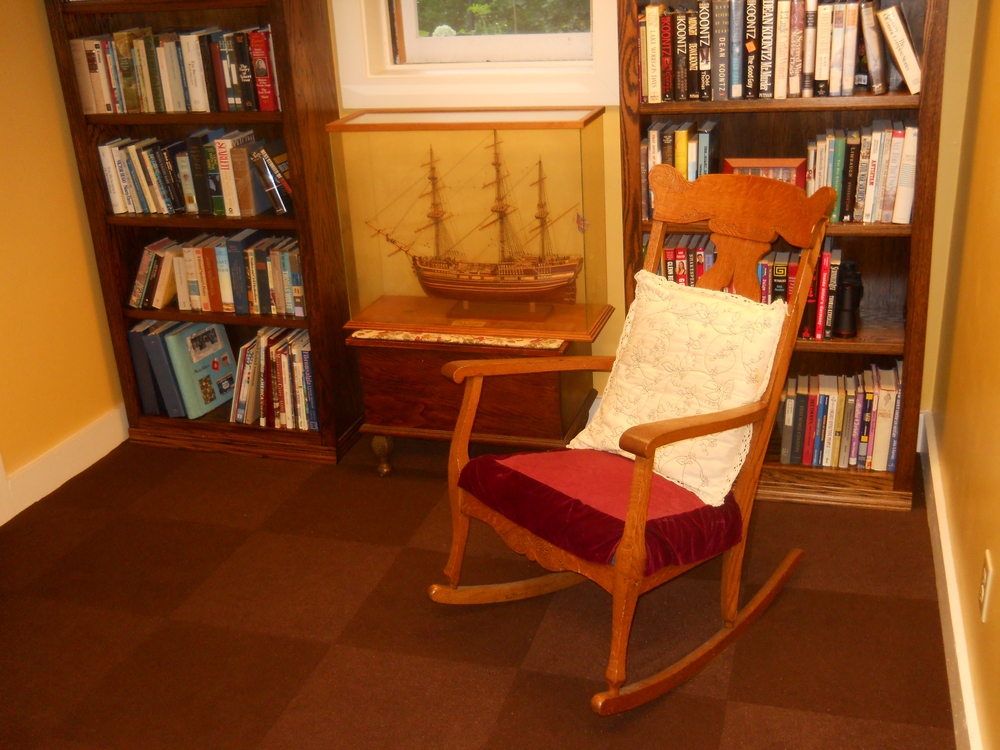 And here’s the finished product to give you an idea of how the floor looks. I love it! So far I’m showing only the southernmost wall because now that the office feels “finished,” I’m rethinking where the rest of the office goes. Yes, I have a desk, but I need a new floor mat, and I’ve decided that not all the lamps and books I had before are returning.
Time to cut back and reevaluate.
 What did I learn from this project? You will have a tougher time with older floors that are not level. The basement floor in my office is far from level. Eyeball it and do the best you can.
Any cons? In some places the floor “creaks” a little; this is probably due to the inability to get the floor completely level. I can live with that. Another con is that every bit of lint, every hair from my dog, shows up on a carpet this dark. I’ll be vacuuming often, but that’s good because I need to be better about keeping the office clean anyhow.
Sometime down the road I’ll do a review of the project and describe how the floor has handled wear and tear.
What about you? Do you have a home office? What challenges have you faced?


